Encapsulation Installation
How encapsulation is installed: sealant types, surface preparation, spray application, curing conditions and the inspection before sign-off.
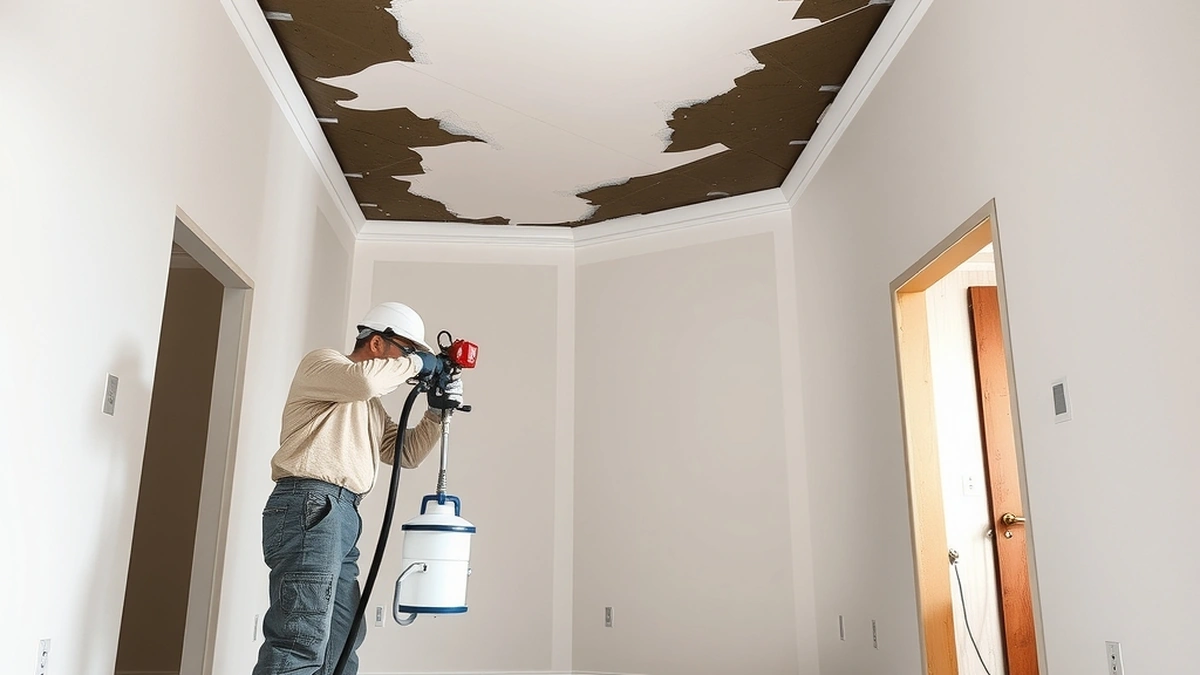
Encapsulation installation is the preparation and spray or brush application of a sealant that binds asbestos fibers in place. Penetrating sealants soak into porous material, bridging sealants form a film over it, and both depend on a clean, sound, dry surface.
- Coating types
- Penetrating and bridging
- Prep stage
- Clean, dry, sound surface
- Application
- Airless spray or brush
- Cure time
- Typically 24 hours before handling
- Rate
- $5 - $15 per sq ft
Some links on this page are affiliate links.If you buy through them we may earn a commission at no extra cost to you. We do not accept payment for rankings. Read the full disclosure.
Encapsulation installation is the preparation and application of a sealant that binds asbestos fibers to the material they sit in, without removing it. The work is mostly preparation: cleaning, stabilizing and masking. The spray pass itself is quick, and a job that skips the prep fails within a few years.
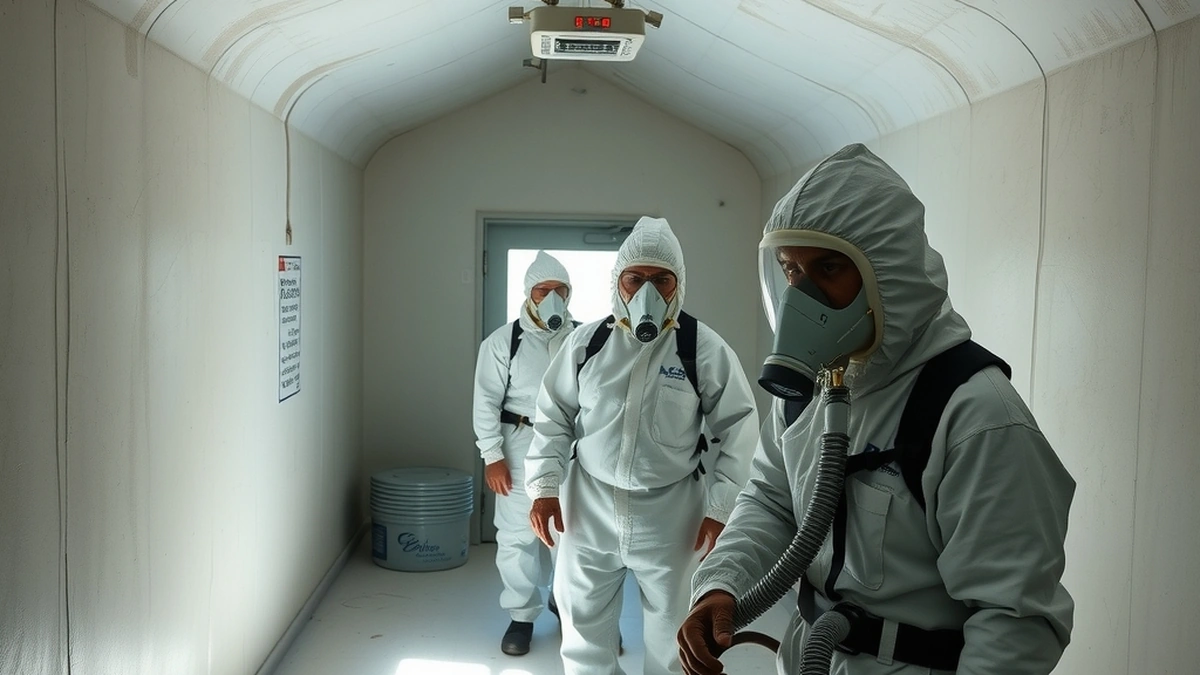
Encapsulation installation is the on-site process of applying a penetrating or bridging coating to asbestos-containing material under contained conditions, then curing and inspecting it. It is a regulated task performed by a licensed crew, not a painting job with a specialty product.
Two Sealant Types and What They Do
Penetrating sealants are low-viscosity liquids that soak into porous material such as ceiling texture or cement board. They bind the fibers within the substrate, so the surface stays visually similar and the material keeps its texture.
Bridging sealants are thicker and form a continuous film across the surface. They can span small cracks and encapsulate a rough texture, which makes them the choice for damaged or uneven material.
Some specifications use both: a penetrating coat first to bind, then a bridging coat to seal. That sequence costs more but handles surfaces that neither product manages alone.
Surface Preparation Decides the Outcome
A coating bonds to what is under it. Dust, grease, soot from candles, nicotine film and loose paint all prevent adhesion, and a coating that does not bond is a coating that peels.
Preparation typically involves HEPA vacuuming, wet wiping, and scraping away loose or flaking material. Any water damage is assessed, because a stained or swollen substrate may need repair before it can be sealed. Cracks are filled where the product specification calls for it.
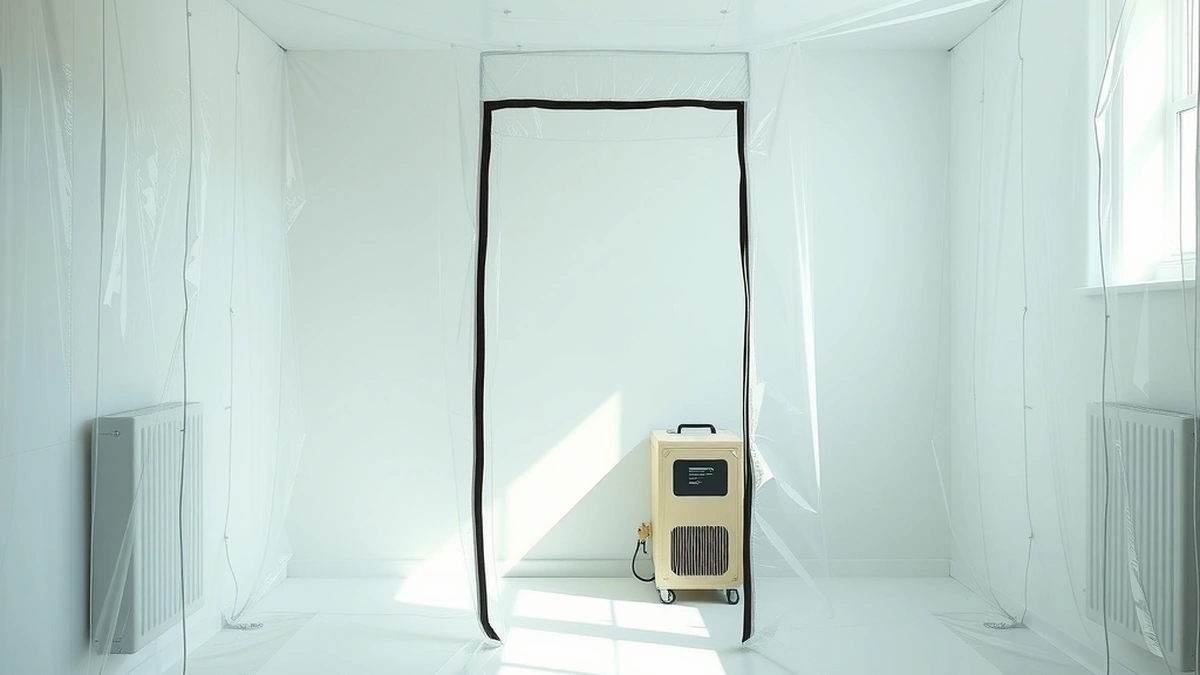
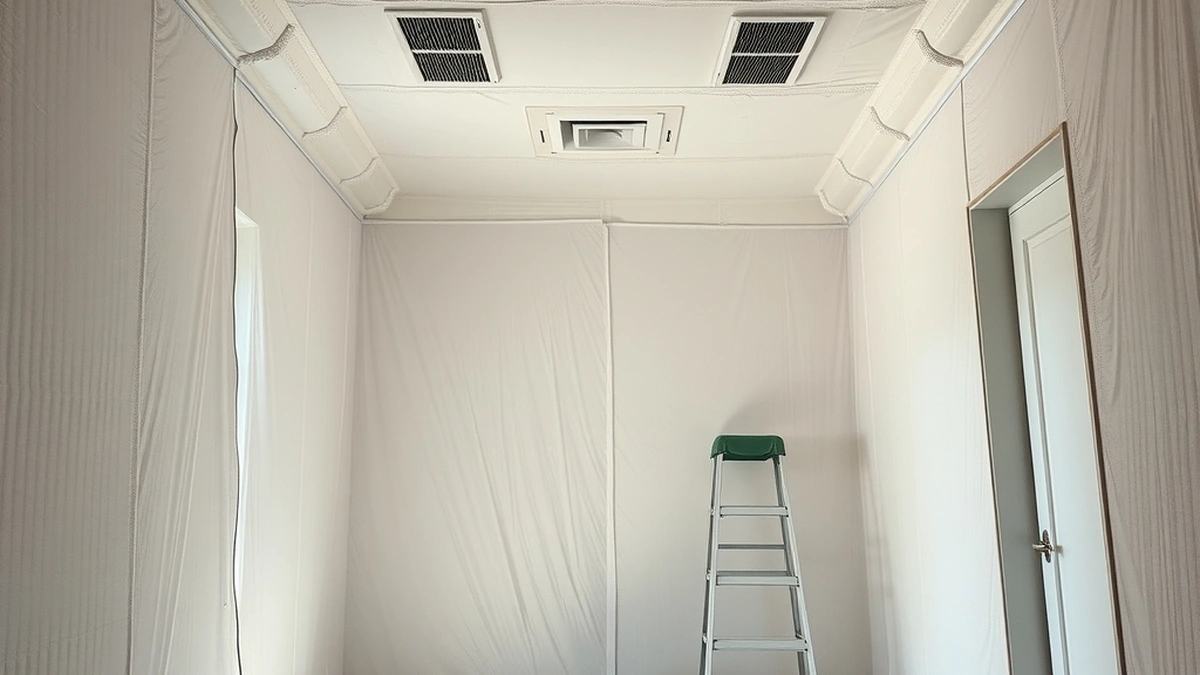
The room is masked at the same time: floors covered, fixtures wrapped, HVAC registers sealed. That protection is part of the installation and not a courtesy.
The Application Sequence
- Build the work area protection and seal openings to the rest of the building.
- Clean the substrate and remove loose material with HEPA equipment.
- Repair cracks or damaged sections where the specification requires it.
- Apply the first coat by airless spray or brush, working from the far edge back toward the exit.
- Allow the specified recoat window, then apply the second coat if required.
- Cure, inspect coverage and photograph the finished surface.
Step five is where schedule pressure shows. Applying a second coat before the first has set produces runs and thin spots, and the failure appears months later as peeling.
Conditions That Affect Curing
Temperature and humidity both matter. Most sealants specify a minimum ambient temperature and a maximum humidity, and a cold room or a damp basement falls outside the range. Applying outside the range produces a coating that never fully cures.
Ventilation needs balancing against containment. The work area needs air movement for the coating to set, but the air leaving it must pass through HEPA filtration. Crews achieve that with filtered exhaust rather than opening a window.
Drying time also depends on coat thickness. A heavy bridging coat on a rough ceiling can take considerably longer than a thin penetrating coat on a flat wall.
Installation Compared With Enclosure and Removal
Encapsulation is one of three interventions, and the installation differs in each case. The table sets them side by side.
| Method | What is installed | Rate | Material remains |
|---|---|---|---|
| Encapsulation | Sealant coating, one or two coats | $5 - $15 per sq ft | Yes, bonded in place |
| Enclosure | Rigid board or panel barrier with sealed joints | Priced per project | Yes, behind a barrier |
| Removal | Containment plus extraction of material | $20 - $50 per sq ft | No |
Enclosure is a construction job with framing and panels, so it is priced differently from a coating. Removal is the largest scope because it includes waste handling. Our comparison of abatement vs enclosure covers when a barrier beats a coating.
What the Crew Checks Before Leaving
Coverage is checked visually for holidays, the spots where the spray missed. Thickness is checked against the product specification, often with a wet-film gauge during application. Adhesion is checked on a test patch or by feel once cured.
Photographs of the finished surface go into the report, along with the product name, batch, application date and number of coats. That record is what the next inspector reads, and it is what makes the encapsulation auditable rather than merely claimed.
Common Installation Faults
The most common fault is inadequate cleaning. The second is applying over a damp substrate. The third is a single thin coat on a rough surface, which leaves the peaks of the texture exposed.
Less common but more serious is coating over material that should have been removed. If the substrate is friable or crumbling, the coating bridges a void and fails when the material shifts. An inspector’s condition report should have caught that before the crew arrived.
The fourth fault is documentation. An installation with no product record and no photographs is impossible to maintain, because the next person cannot tell what was applied or when.
Maintaining What Was Installed
The coating needs inspection at intervals, and any damaged area needs re-coating at the same rate. Our encapsulation maintenance guide covers what to look for, and encapsulation cost shows how re-coating is priced.
For the asbestos-specific version of the same decision, read asbestos encapsulation cost. For the application’s place in a wider project, see encapsulation vs enclosure. No part of this work belongs to a homeowner: preparation alone disturbs the surface, and that disturbance is exactly what the regulation exists to control.
Frequently asked questions
How is encapsulation applied?
The surface is cleaned and stabilized, then the sealant is applied by airless spray or brush in one or more coats and left to cure before inspection.
What is the difference between penetrating and bridging sealants?
Penetrating sealants soak into porous material and bind fibers within it, while bridging sealants form a continuous film across the surface and can span small cracks.
How long does encapsulation take to cure?
Most products need about 24 hours before the surface can be handled, and cool or humid conditions extend that, so the crew schedules the inspection after curing.
Can encapsulation be sprayed on a dirty ceiling?
No. Dust, grease and loose material prevent the coating from bonding, so cleaning and stabilizing the substrate is a required step rather than an optional extra.
How many coats does encapsulation need?
One coat is often enough on smooth, sound material, while rough or porous surfaces need a second pass to reach full coverage.
Who can install encapsulation?
A licensed abatement contractor. The work disturbs the surface during preparation and application, so it falls under the same regulated work practices as removal.
Sources
Some links are affiliate links.If you buy through them we may earn a commission at no extra cost to you. We do not accept payment for rankings. Read the full disclosure.